
At last! I have found out what a monoprint is, and how one is made!
First published November 25, 2023: One of the first pieces of art I bought was a monoprint by an artist in Washington State. It was a large (36×24), simple piece of a woman working in her garden. I never really understood (until this week) what it took to make that kind of art.
Fast forward about 40 years, and I started following Jerney Marisha on Instagram (@jerneymirisha) because of the soulful faces she captured in her work. I can tell you from experience it takes alot of work to create a portrait that has personality and emotion. She seemed to make it easy. So when I found her course in the Art Bundles for Good package I couldn’t wait to see what she had in store. Her course is called Monoprint Monologues. If you have not yet subscribed to Art Bundles for Good, you can sign up for her courses here. The course I took was well worth it.
Jerney is a Dane living in Belgium, and her English is perfect, with the most soothing accent. She speaks very slowly, which helps alot when you are learning something completely new. There are numerous tips and tricks to print making in any form, and Jerney explains them more than once throughout her courses. I find that method of teaching especially helpful in my old age — and short attention span. In this course, Jerney demonstrates additive and subtractive monoprint making. The subtractive method was very challenging for me, but I think it was mostly because my baby wipes were old and not very wet anymore.
I don’t want to give away and of Jerney’s magical methods, but I do want my artist friends to know what monoprinting is. Some of you may already do it with gel plates. The monoprint process is a way of making a print by drawing and making marks on a piece of paper that has been laid on a piece of plexiglass coated with block printing ink. “Mono” assumes “one,” and in this case the “one” is one print only. That makes it an original.
Jerney first showed how to make an additive Monoprint. Here is my result from that effort.
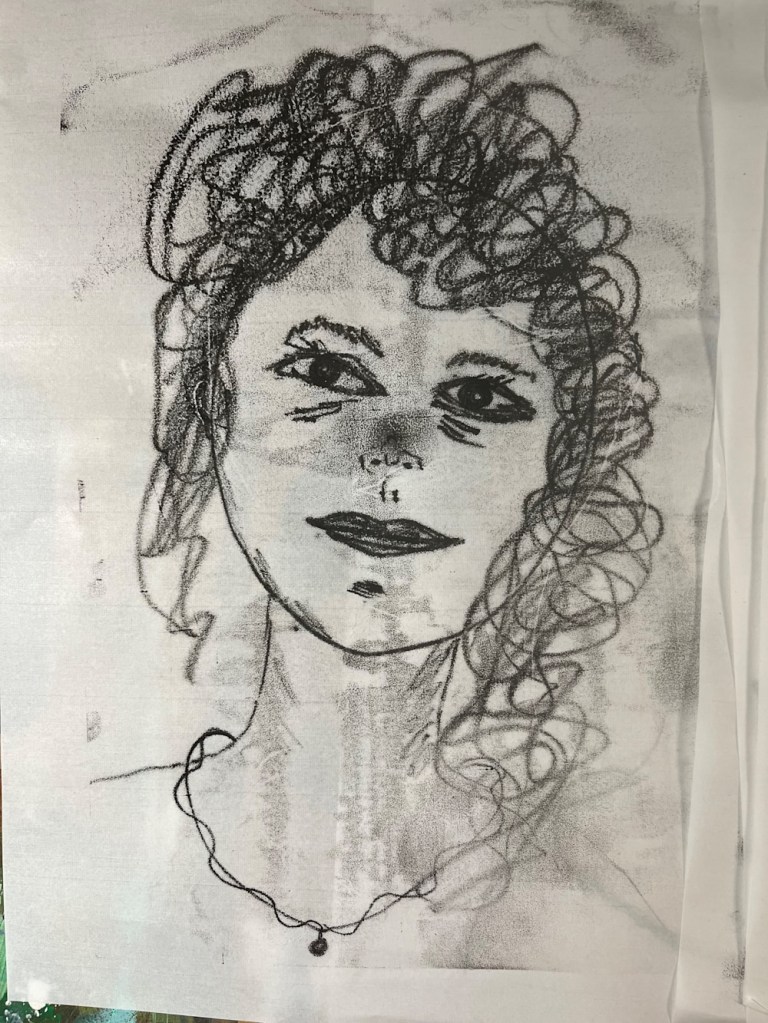
I really love this… it is not perfect in any way, but creating perfection is not really the intent. I did not use a reference photo, just drew the face of what I would like to look like — someone with curly hair, and not such a big nose:). It is very much like a charcoal drawing, which is another of my favorite mediums.
As I said above, I struggled with the subtractive method, where you actually eke out the highlights directly from the ink on the glass and then make a print. First I did not have enough ink, and then I must have taken too long, because my paper stuck to the plexiglass so badly that it shredded when I tried to take it off. So here is one of my tries:
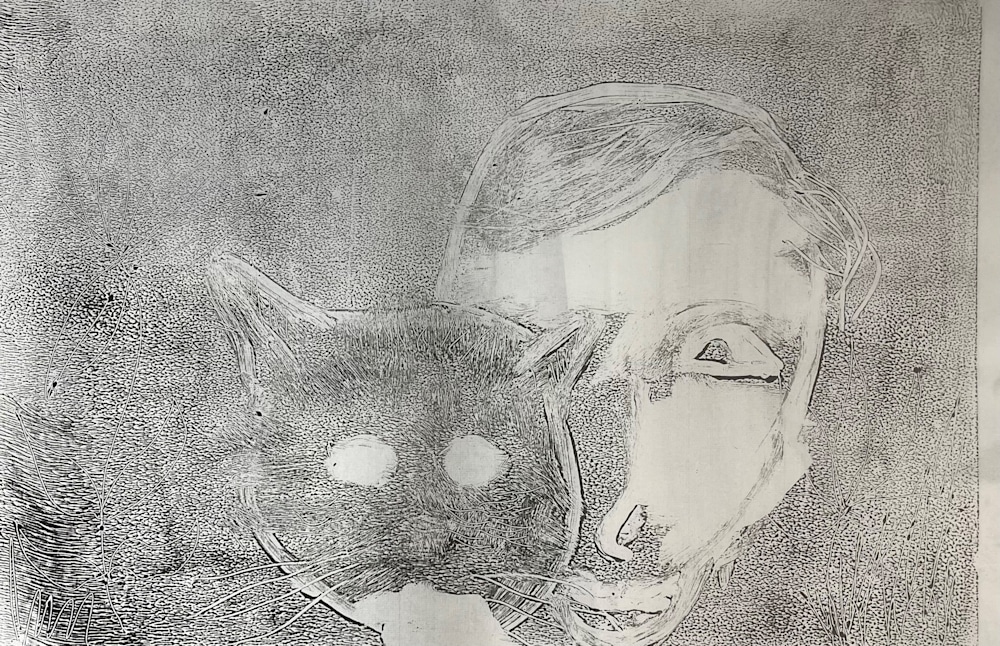
As you can see, it is a pretty scary picture! I used a reference photo for this one — it is a picture of my –very beautiful — daughter holding her cat near her face. It is a very beautiful picture. But as you can see, I had a hard time keeping track of lights and darks and especially proportions! I have to say that this is the first time I have ever “drawn” with a baby wipe, which was very hard to do. Live and learn, right?
Another great thing about Jerney’s tutorials is that there are multiple lessons and opportunities to create. Some courses I have taken have been a whole 5 minutes long, and this one has multiple 30-minuteish lessons. It gave me alot to take in, and even more ideas for new work.
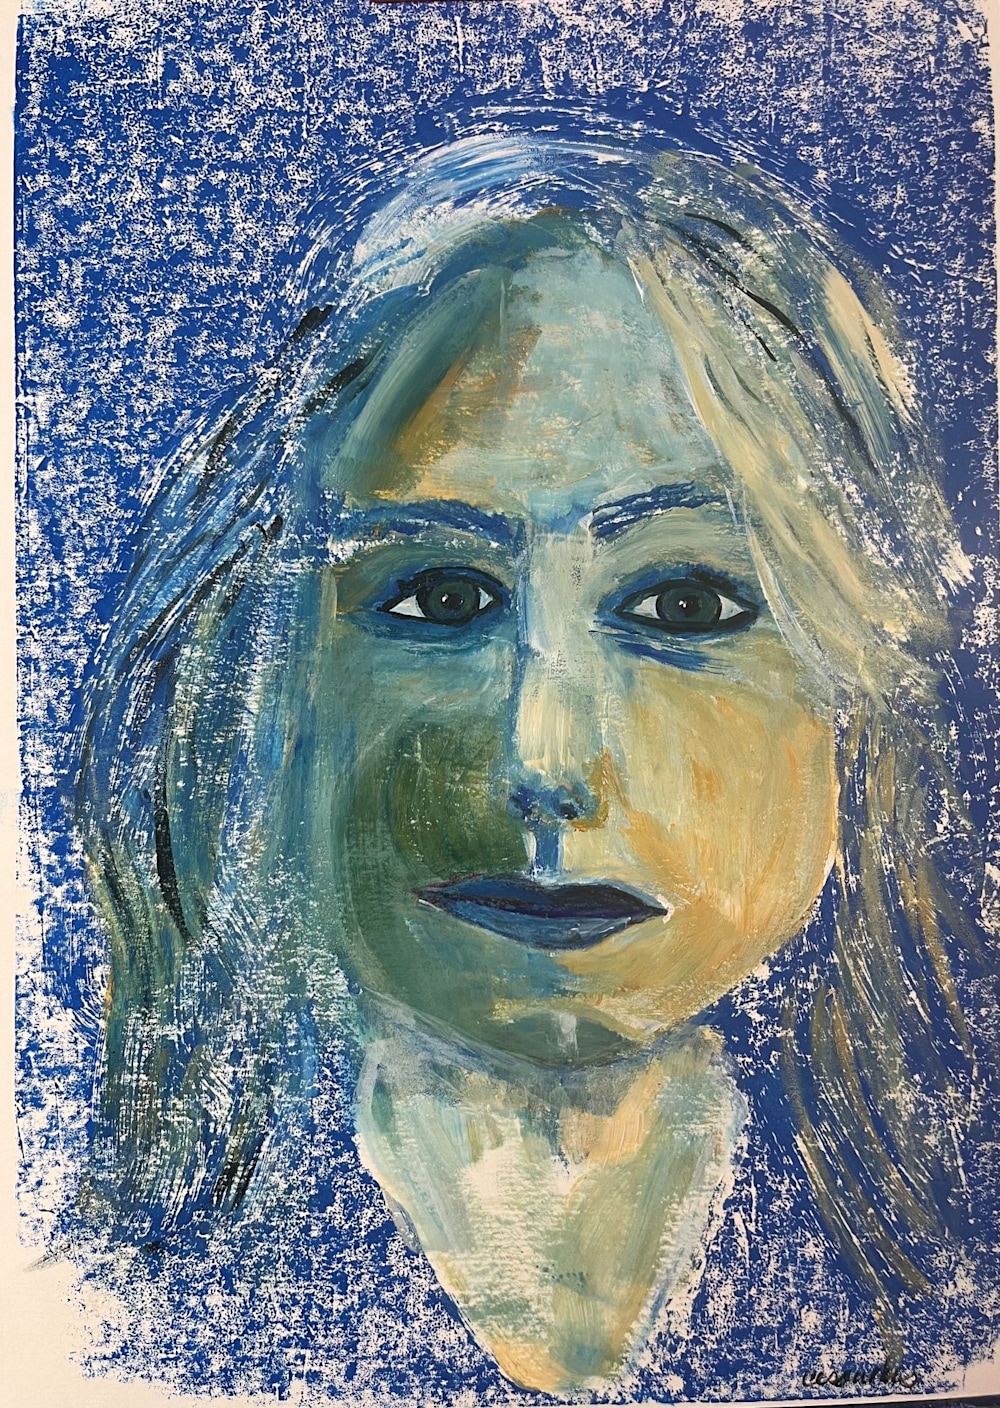
The last lesson is to actually paint on one of the monoprints. I made a subtractive monoprint in blue (yikes!) and then used Yellow Ochre (one of my top five favorite colors) and white to provide the highlights, with a bit of Marine Blue for the really dark places. Here is how it turned out:
I hope you will check out Jerney’s classes. The one I took was definitely worth it!
Happy Thanksgiving, all!