
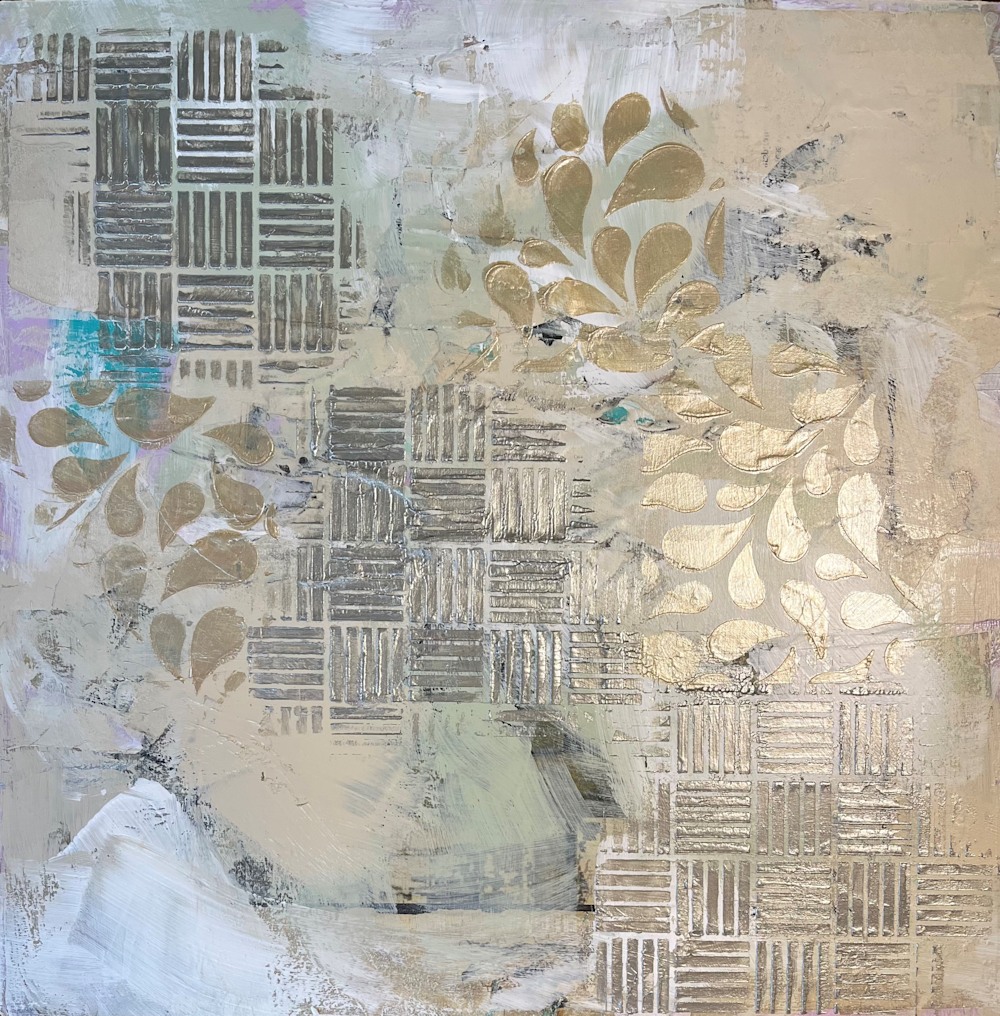
Sometimes it seems like the artist adds the background last as an afterthought. This class teaches us a different approach… for free!
First published February 20, 2024: Each morning, after my quiet reading time, then reading the news and weather and playing Wordle, I scroll a bit on Instagram. Did I go viral with my last post? Does anyone know I am out there? What is everyone doing in the art world? I expect IG to answer all of those questions for me while I sip (gulp) my morning coffee.
This week I scrolled to an offer from Louise Fletcher for a free tutorial on making meaningful backgrounds using layering. This interested me, since I am one of those artists that has an idea, and I sometimes forget to think from the bottom layer to the top, which can be especially critical in creating a cohesive story in paint.
I have noticed a great deal more posts offering free tutorials from the many artists I follow. I love to see all of this “giving back.” In any profession, I believe it is important to celebrate the ones at the top when they give back to the rest of us. Louise’s tutorial is very rich on technique and advice and she certainly does not have to show people how she makes her secret sauce. But she opened up for this course, and I for one, am glad to have the opportunity for another Artventure.
Louise worked on two large pieces of wood for her demonstration. Her studio is quite large and she was able to work with one large painting on the wall and one on a table. Wow. That right there is a luxury I do not have. But what I do have are small pieces of wood, so I was ready to dig in.
Louise’s process is essentially similar to many of ours, with a few twists. I have never sanded my pieces after the collaging step, or even after the application of stencils. I always wondered how I could make a collage background and be able to paint smoothly across it. Louise pulled out an electric sander after a few layers and showed us how to smooth out the bumps while keep the “tooth” we all love to feel on the surface.
Her video is about 30 minutes long and takes place over the course of a couple of days, I believe, since there are many drying breaks. I like working like this. It gives my short attention span an excuse to work on another project or two during the drying times. Even though I have a small working room, I like to have at least two small surfaces set up and ready to paint.
For my first collage layer, I used some rice paper monoprints that were lying around, and some pages from an old Lady’s Home Journal. I like the neutral colors as a starting point. That was Louise’s approach also–big on dramatic shapes, but basic neutrals for colors. This gives her a wide open palette when she is ready to paint on her background.
Here is my board after the first layer, and then second layers (paper glueing, then painting):

And a final layer before I start to paint my foreground (better get started imagining!):
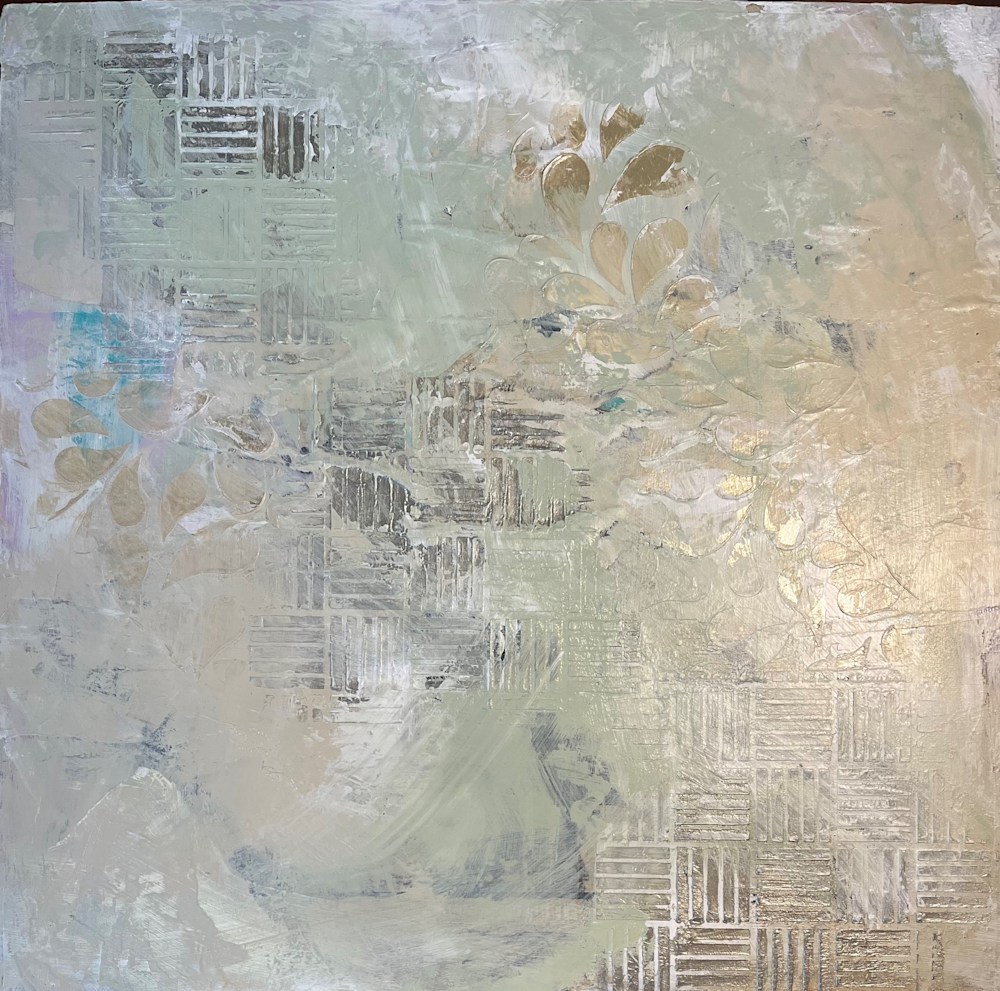
And this is where Louise’s free lesson stopped. I will probably sign up for the lesson where she puts on her final painting. But for now, I have my own work to do to figure out what I see happening on this beautiful background! Let me know in the comments if you would like to see my project when finished…
An inspiring lesson from Louise…
Happy Artventures this week,
P.S. Yesterday, after I had finished my lesson with Louise, I received an email inviting me to watch her process further. I was thrilled. This class is definitely worth taking if you are looking for direction on painterly layering practice.